
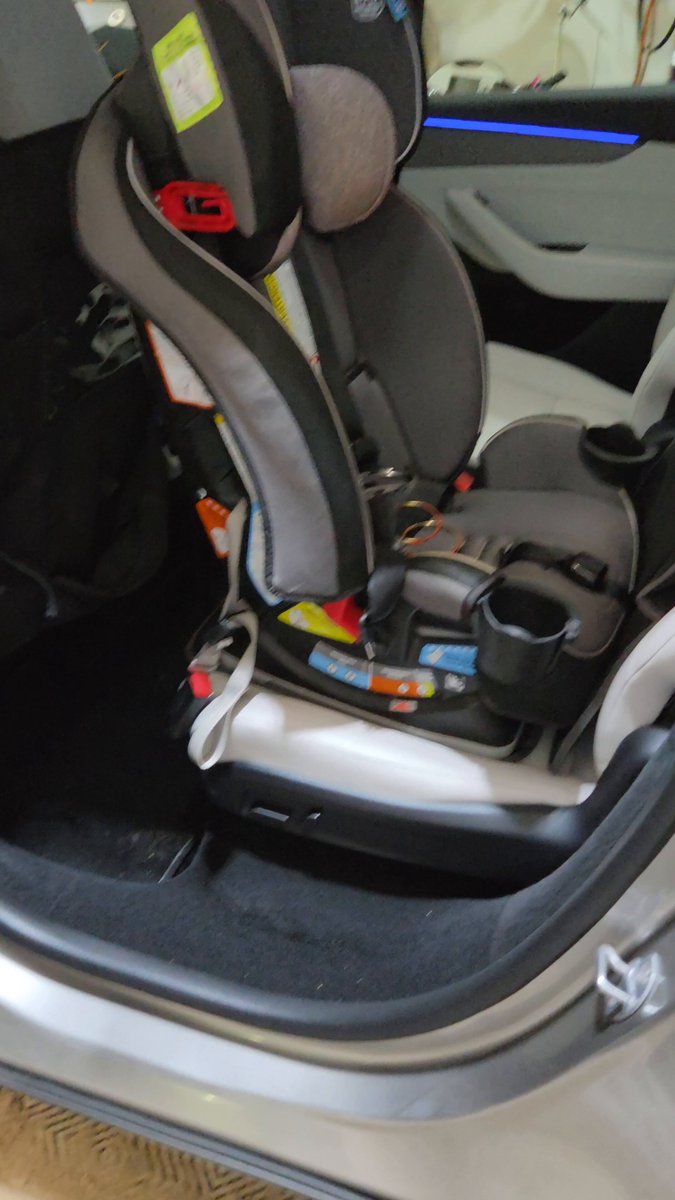
Installing a rear-facing car seat in the middle row of a 7-seat Tesla — and still getting adults into the third row without a wrestling match — is one of those problems that sounds simple until you're actually doing it in a parking lot. Dirty Tesla tackled the question head-on with a video demonstration after fielding multiple owner questions, and the details are worth knowing before you start moving seats around.

1. Easy Entry Must Be Turned Off When a Car Seat Is in the Second Row
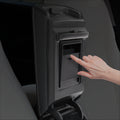
This is the setting most owners overlook. According to Tesla's official guidelines, if you have a rear-facing child seat installed in the second row of a Model X with monopost seats, the "Easy Entry" setting for third-row access should be set to OFF — found under Controls > Seats > Easy Entry. When the setting is ON, a single button press sends the outboard seat sliding fully forward, which can dislodge or compress a child seat. With it OFF, you hold the button to move the seat, giving you deliberate control over the motion. Same logic applies to Model X bench seats: disable Easy Entry for the first row whenever a child seat is buckled in behind it.
2. The Second Row May Need to Slide Forward to Create Third-Row Access
On Model Y's 7-seat configuration, the second-row bench sits on rails and can be repositioned forward or backward. Moving it forward opens up meaningful legroom for third-row passengers — but it also changes the geometry of any rear-facing seat installed there. According to Tesla's documentation, large rear-facing LATCH seats in a Model X may require the second-row seat to be pushed to its full rearward position, which in turn may require the front seat to move forward up to 13 cm. The takeaway: check that your car seat's installation angle and LATCH tension are still correct after any seat repositioning, not just at initial install.
3. After Using the Ingress Button, the Seat Must Be Latched Before Driving
This one is non-negotiable. Tesla's guidelines are explicit: after an adult climbs into the third row using the ingress button sequence, the second-row seat must be pushed back and securely latched into position before the vehicle moves. A seat that clicks into place audibly is the confirmation you need. If you're in a hurry and skip this step, the seat isn't anchored — and neither is the car seat attached to it. Build the latch-check into your boarding routine the same way you'd check a seatbelt.
4. Don't Associate Easy Entry with the Driver Profile If a Child Is in Row Two
Model Y owners have a specific trap to avoid. Tesla advises against linking the "Easy Entry" setting to the driver's profile when a child is seated in the second row. When Easy Entry is profile-linked, the driver's seat automatically moves rearward on entry — and if a rear-facing infant seat is directly behind it, that movement can push against the car seat, potentially causing injury or shifting the installation. Check your profile settings under Controls > Seats > Easy Entry and confirm it isn't toggled on for the active driver profile during any trip with a child on board.
5. ISOFIX Anchor Points Are Outboard Only — and One Anchor Per Seat
On Model Y, ISOFIX/i-Size compatible systems can only be installed in the two outboard second-row seats — not the center position. And regardless of vehicle, Tesla's guidelines are clear that two child restraint systems must never share a single anchor point. Each car seat needs its own dedicated anchor bar. Belt-based systems have more flexibility and can go in any rear seat, but the installation angle and belt routing still need to match the car seat manufacturer's instructions exactly. When in doubt, a certified Child Passenger Safety Technician (CPST) can verify the install in person.

The full video walkthrough from Dirty Tesla is the most practical way to see exactly how the seat positioning plays out in real space — screenshots only tell part of the story when you're dealing with millimeters of clearance and a tired toddler. If your setup involves a Model Y 7-seat or Model X with monopost seats, watch both videos before your next install.
Related Gear
Gear up your Model Y with tested, custom-fit BASENOR accessories — shop Model Y accessories →
Sources & reporting notes
The links below identify the material source records used for this report.
- @DirtyTesLa on X (2026-08-16T18:13:55.000Z) — Direct source
- @DirtyTesLa on X (2026-08-16T18:19:10.000Z) — Direct source
Source links are preserved as published or accessed. See our editorial standards and corrections policy.
The BASENOR Editorial Desk covers Tesla, SpaceX, and related technology, curating reporting from primary sources — official accounts, regulatory filings, and software release data. Every article passes source-record and fact-checking review before publication. About the newsroom.
This report was curated by the BASENOR Editorial Desk from the sources listed above. Read our editorial standards or email editorial@basenor.com to report an error.